Easy Pumpkin Cuties: Free Crochet Pattern for Halloween
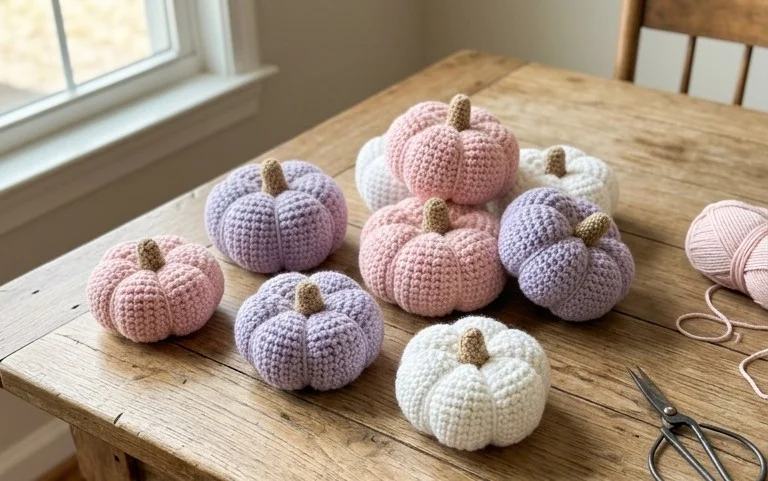
These plump autumn gourds sit perfectly on a mantelpiece, their soft yarn texture adding a cozy touch to any room during the cooling months. They work up quickly, making them a fantastic project for using leftover orange and green yarn from your stash. You will use simple increases and decreases to build the rounded shape, which is a satisfying way to practice shaping techniques without complex diagrams. Beginners enjoy how forgiving the round construction is while experienced makers appreciate the speed of production for last-minute party gifts. Each finished piece creates a charming seasonal accent that lasts well beyond October.
Why Crocheters Love It
The Classic Granny Square Dishcloth is a foundational project that transitions perfectly from practice piece to functional kitchen staple. You will appreciate how quickly this pattern works up, allowing you to build muscle memory for double crochet stitches while creating a useful item for your home. Because it uses a small amount of yarn, it serves as an excellent way to use up cotton scraps left over from larger projects. The texture created by the post-space clusters provides just enough scrubbiness to handle everyday dishwashing tasks effectively.
I learned how to manage my tension and keep my edges straight with this pattern, and now I have a whole drawer full of colorful, durable cloths for my kitchen.
— Sarah, home crafter
Pattern Overview & Skill Level
- Skill Level: Beginner
- Approximate Time: 45 to 60 minutes
- Construction: Worked in rounds starting from the center and moving outward
- Finished Dimensions: 8 inches by 8 inches
Materials & Supplies Needed
- Yarn: Worsted weight (#4) 100% cotton yarn, approximately 45 yards per dishcloth. Cotton is necessary for heat resistance and absorbency.
- Hook Size: 5.0 mm (H-8) crochet hook.
- Notions: Yarn needle for weaving in ends and scissors.
- Safe yarn substitutions: You may use a cotton-linen blend, which will be slightly stiffer and more durable. Avoid acrylic yarns, as they are not absorbent and will melt if they touch a hot pan.
Stitch Guide & Abbreviations (US Terms)
- ch = chain
- dc = double crochet
- sl st = slip stitch
- sp = space
- st/sts = stitch/stitches
- Cluster = A group of 3 dc stitches worked into the same space.
Step-by-Step Pattern Instructions
The Body
- Rnd 1: Start with a magic ring. Ch 3 (counts as first dc throughout), 2 dc into the ring, ch 2, 3 dc, ch 2 3 times. Join with a sl st to the top of the beginning ch-3. (12 dc, 4 ch-2 spaces)
- Rnd 2: Sl st into the next 2 sts and into the first ch-2 space. Ch 3, 2 dc, ch 2, 3 dc in the same ch-2 space. Ch 1, in the next ch-2 space work (3 dc, ch 2, 3 dc). Repeat from * to * two more times. Ch 1, join with a sl st to the top of the beginning ch-3. (24 dc, 4 ch-2 corners, 4 ch-1 spaces)
- Rnd 3: Sl st into the next 2 sts and into the first ch-2 corner space. Ch 3, 2 dc, ch 2, 3 dc in the same space. Ch 1, 3 dc in the next ch-1 side space, ch 1, in the next ch-2 corner space work (3 dc, ch 2, 3 dc). Repeat from * to * two more times, ch 1, 3 dc in the last ch-1 side space, ch 1, join with a sl st to the top of the beginning ch-3. (36 dc, 4 ch-2 corners, 8 ch-1 side spaces)
- Rnds 4-8: Continue the pattern established in Rnd 3. In every round, work (3 dc, ch 2, 3 dc) in each corner. Work 3 dc into every ch-1 side space encountered, with a ch 1 separating each cluster. Each side of the square will increase by one cluster per round.
Finishing
After completing round 8, fasten off the yarn by pulling the tail through the final loop. Use your yarn needle to weave the starting tail into the center ring to secure it. Weave the final tail into the back of the clusters along the edge. Ensure all ends are trimmed close to the fabric to prevent fraying during use.
Care & Washing Instructions
- Machine wash your dishcloths on a warm cycle (up to 104 degrees Fahrenheit) with similar colors.
- Lay flat on a clean towel to air dry, as high heat in a machine dryer may cause the cotton fibers to shrink over time.
- Reshape the square while it is damp to ensure the corners remain crisp and the edges stay straight.
Pro Tips & Common Mistakes to Avoid
Maintain consistent tension throughout the project; if your clusters look loose or gap-filled, drop down to a 4.5 mm hook to tighten the fabric. Use a stitch marker in the top of your beginning ch-3 of each round to easily identify where to join with your slip stitch. When weaving in your ends, run the needle through the center of several stitches in different directions to ensure they do not pull out when the cloth is wet. To adjust the size, simply add or remove rounds; keep in mind that each additional round will require approximately 5 to 8 extra yards of yarn.
Frequently Asked Questions
Can I use a larger hook size for this project?
Using a larger hook will result in a looser, more open fabric. While this makes the dishcloth work up faster, it will be less effective for scrubbing. Stick to the suggested 5.0 mm hook for the most durable density.
Is this pattern suitable for complete beginners?
Yes, this is an ideal first project. It teaches you how to work into chain spaces rather than individual stitches, which is much easier for beginners to see and manage than traditional row-based crochet.
Can I sell the dishcloths I make from this pattern?
You are welcome to sell finished items made from this pattern, provided you credit the designer. Please note that you cannot sell or redistribute the written pattern itself.
How do I prevent the edges from curling?
Curling usually occurs if your tension is too tight on the chain stitches between clusters. Ensure your chain-1 spaces are worked loosely. If they still curl, blocking the finished square by pinning it flat after a light steam or wash will resolve the issue.
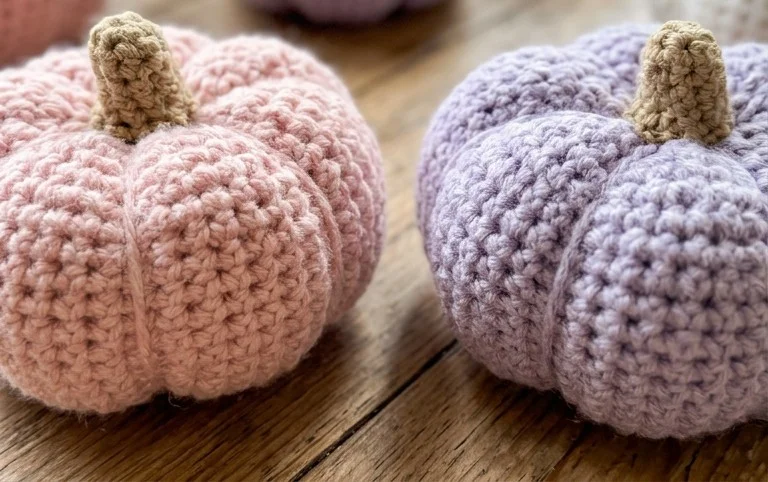
Your new seasonal decorations bring a cozy, handmade feel to your living space once they are stuffed and stitched shut. You can experiment with different weights of velvet yarn to create larger, squishier versions or stick to cotton for a firm, defined finish. Post a photo of your finished work on social media to show how you styled your display. Browse the rest of the blog for more patterns to keep your hands busy as the temperature drops and the holidays approach.