Easy Crochet Christmas Stocking Pattern: Step-by-Step
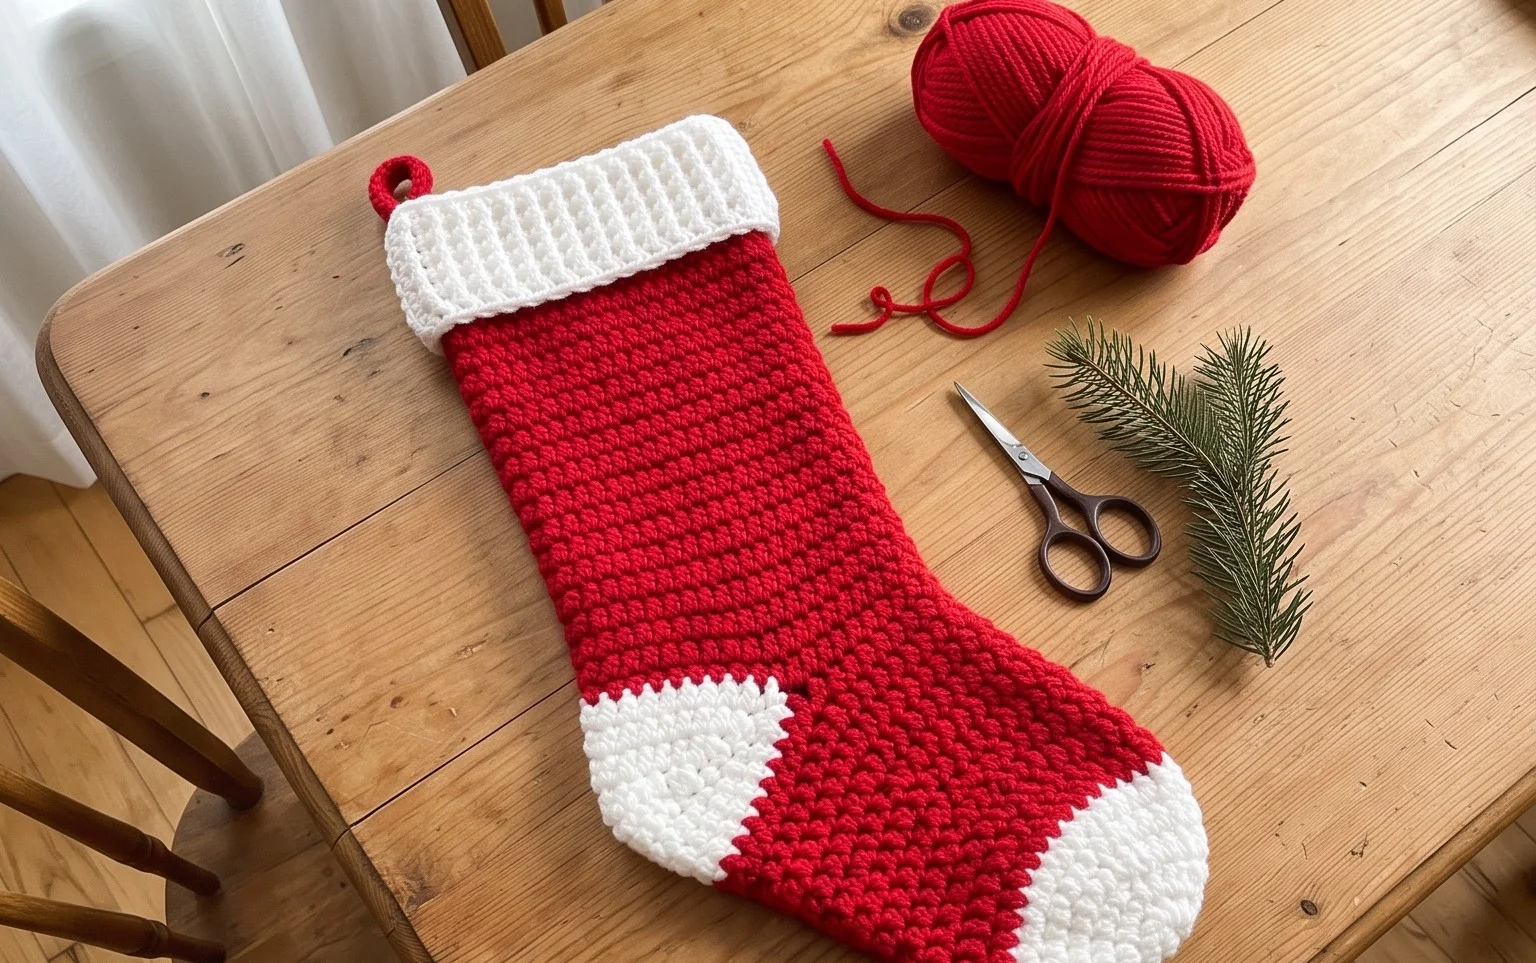
A thick wool blend gives this holiday stocking a heavy, sturdy feel that keeps its shape even when stuffed with heavy candy or small gifts. It is a rewarding project for beginners because the rhythmic half double crochet stitches work up quickly, allowing you to build an entire festive set over just a couple of cozy winter evenings. You will focus on building a simple flat rectangle before seaming the sides to create the classic shape. This design offers a timeless look for your mantel, making it a functional piece of handmade decor you can use year after year.
Why You’ll Love This Pattern
This crochet ribbed beanie offers a classic, snug fit that works for any head size from toddler to adult. Its simple construction relies on a single rectangle worked in rows, which is then seamed to create a comfortable, slouch-free hat. The vertical ribbing provides excellent elasticity, ensuring the hat hugs the head without feeling restrictive. Because it uses only half double crochet stitches worked in the back loop, the fabric develops a knit-like texture that remains soft and flexible even after repeated washes. It is a quick project that allows you to finish an entire hat in one or two evenings, making it ideal for last-minute handmade gifts.
I finished this hat in just a few hours. The ribbing looks like knitting, but it was so easy to work up with my favorite bulky yarn.
— Sarah, hobbyist crocheter
Pattern Overview & Skill Level
- Skill Level: Beginner
- Approximate Time: 3 to 5 hours
- Construction: Flat panel joined into a tube and cinched at the top
- Finished Dimensions & Sizing: Adult Medium (approx. 20-22 inch head circumference)
Materials & Supplies Needed
- Yarn: Bulky weight (#5), approximately 150 yards of wool or acrylic blend.
- Hook Size: 6.0 mm (J-10) crochet hook.
- Notions: Tapestry needle, scissors, stitch markers, and a faux fur pom-pom (optional).
- Safe yarn substitutions: You can use a Worsted weight (#4) yarn held double to achieve the same gauge; however, this will increase the total yardage required by approximately 20 percent.
Stitch Guide & Abbreviations (US Terms)
- ch = chain
- hdc = half double crochet
- BLO = back loop only (insert hook into the loop furthest from you to create the ribbed effect)
- sl st = slip stitch
- st/sts = stitch/stitches
Step-by-Step Pattern Instructions
The entire hat is worked in one flat rectangle. You will crochet across the width of the hat to determine its height, then seam the sides together to create the cylinder.
Hat Body
- Row 1: Ch 36. Hdc in 3rd ch from hook and in each ch across. Turn. (34 sts)
- Row 2: Ch 2, hdc in BLO of each st across. Turn. (34 sts)
- Rows 3–50: Repeat Row 2 until the piece measures approximately 20 inches wide or fits comfortably around the head. Ensure the piece is slightly stretched when measuring, as the ribbing will contract. Do not fasten off.
Assembly and Finishing
- Seaming: Fold the rectangle in half, matching the short ends together. Slip stitch through the BLO of the foundation chain and the back loops of the final row to join the sides, creating a tube.
- Closing the Crown: Fasten off, leaving a 12-inch long tail of yarn. Thread this tail onto your tapestry needle. Weave the yarn in and out of every other stitch along the top edge of the tube. Pull the tail tightly to gather the top closed. Secure the yarn with a knot on the inside of the hat.
- Final Touches: Turn the hat right side out so the seam is hidden on the inside. If desired, attach a pom-pom to the center of the crown.
Care & Washing Instructions
- Hand wash your finished hat in cool water using a gentle wool-safe detergent to maintain the integrity of the fibers.
- Lay the hat flat on a clean towel to air dry, reshaping it slightly to ensure it stays in its original proportions while damp.
- Avoid using a tumble dryer, as high heat can shrink or felt the stitches, leading to a loss of the hat’s elasticity.
Pro Tips & Common Mistakes to Avoid
Maintain consistent tension throughout the project, particularly when working the slip stitch seam, to prevent the vertical join from appearing bulky or stiff. Always place a stitch marker in the first stitch of every row if you find yourself accidentally skipping the last stitch, which is a common error that causes the edges to slant. Weave your starting and ending tails into the seam rather than the body of the hat, as this keeps the interior clean and prevents the knots from showing through the stitches. If you want to increase the size of the hat, add more rows to the total length before seaming, but keep in mind that each additional row will require approximately three more yards of yarn.
Frequently Asked Questions
Can I use a cotton yarn for this project?
Yes, but keep in mind that cotton has very little natural stretch compared to wool or acrylic. If you use cotton, you may need to increase the starting chain count to ensure the hat fits comfortably.
How do I adjust the height of the hat?
To make the hat taller or shorter, simply change the number of chains in your starting foundation. Adding more chains makes a taller hat that can be folded into a cuff.
Is this pattern suitable for complete beginners?
Absolutely. It uses only two basic techniques: the half double crochet stitch and the slip stitch. It is an excellent way to practice maintaining even tension.
May I sell items made from this pattern?
You are welcome to sell finished products created from this design. Please credit the original pattern design when listing your items online.
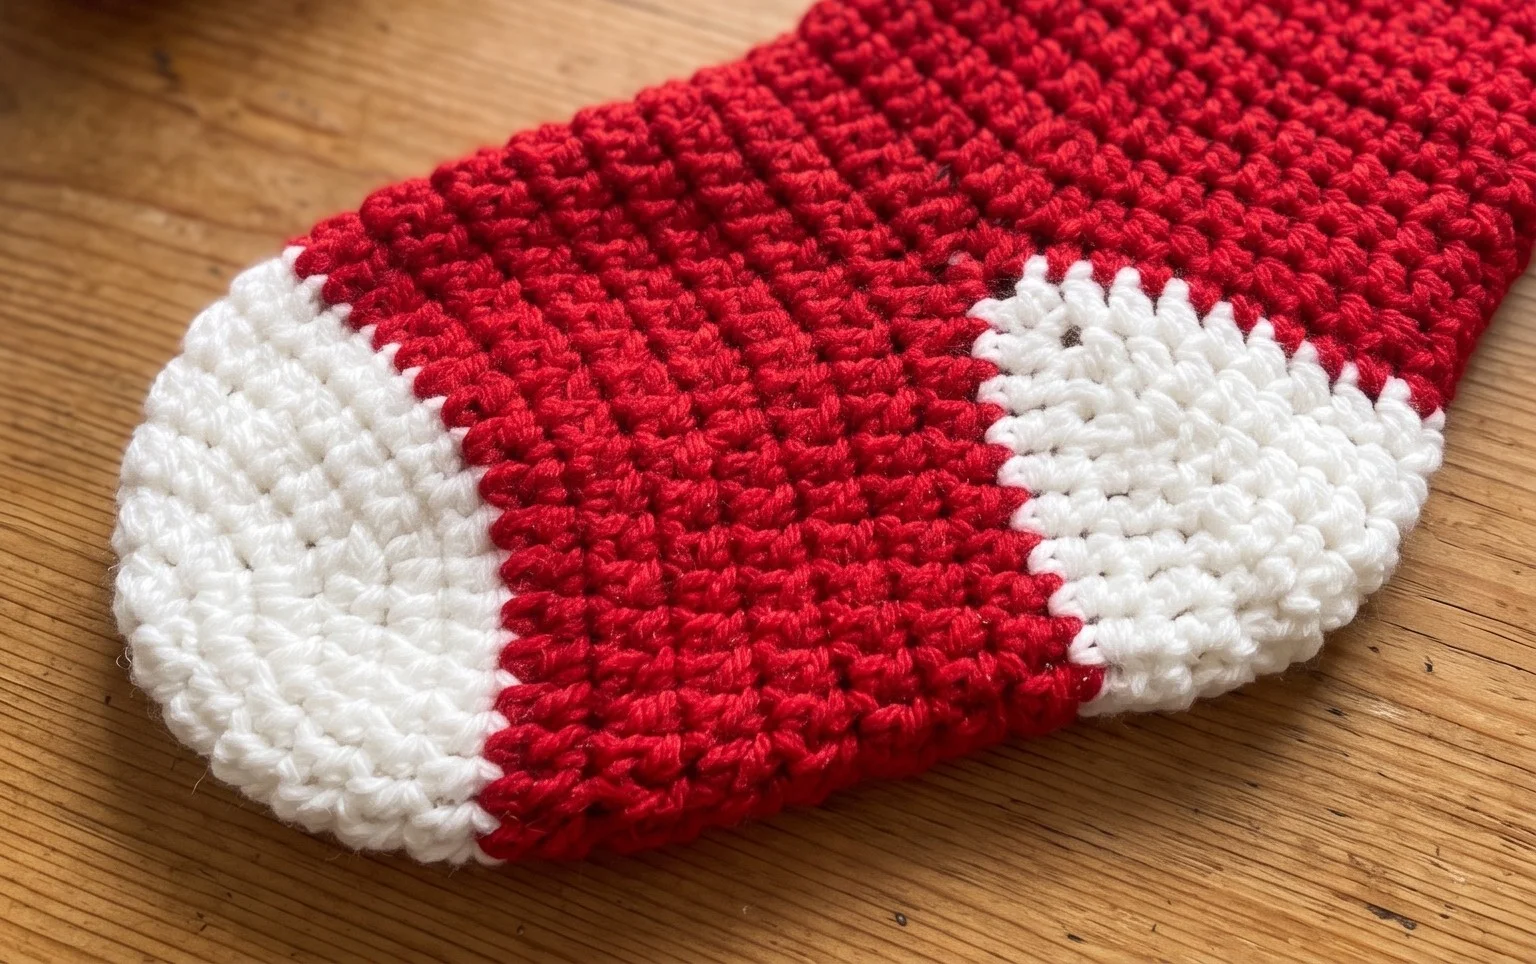
Your new holiday stocking adds a personal touch to your mantel that feels much more special than store-bought decorations. You can swap the traditional red and green yarn for a neutral cream or grey wool to match a modern home aesthetic, or even add a chunky velvet ribbon for a bit of extra texture. Please share a photo of your finished work on social media so others can see your color choices. Browse through the rest of the blog for more seasonal projects and patterns.