Easy Crochet Mini Basketweave Blanket Free Pattern
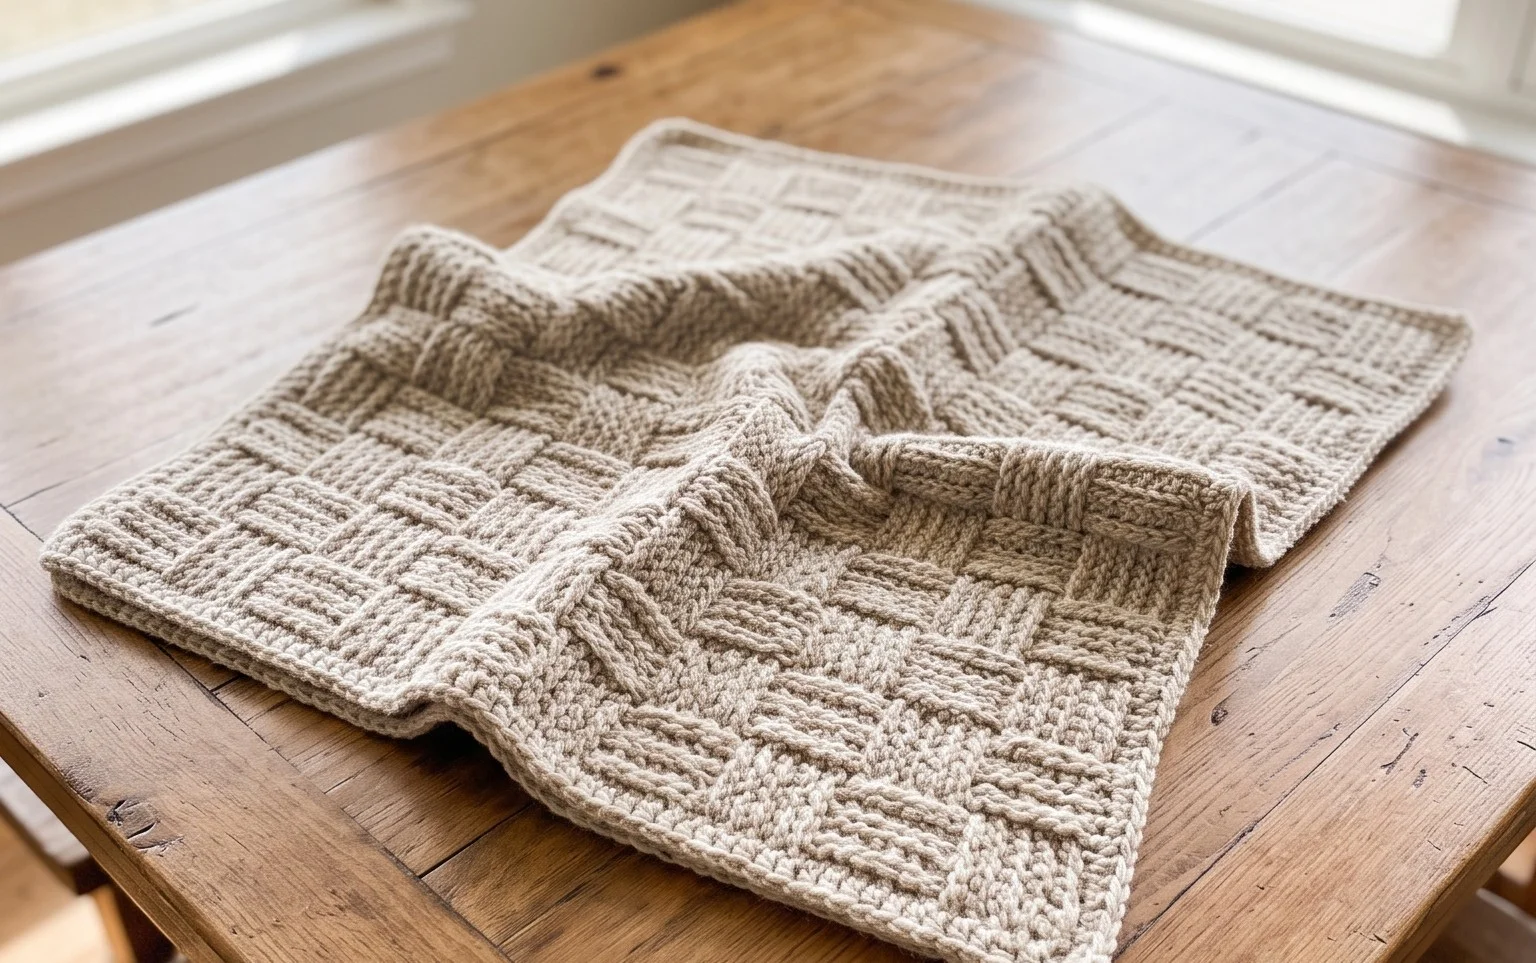
Soft cotton yarn forms the foundation of this project, creating a dense and squishy fabric that feels substantial in your hands. This small, portable project brings the classic look of woven wicker into your home with a repeating texture that is surprisingly simple to master. It suits makers who enjoy rhythmic, repetitive movements and want to build confidence before tackling a full-sized throw. You will focus on alternating between front and back post stitches to build that signature relief effect, which adds warmth and visual depth to the finished square. Practicing these foundational stitches on a smaller scale helps you maintain consistent tension throughout every single row.
Why You’ll Love This Pattern
This beginner-friendly crochet coaster pattern uses simple single crochet stitches and a tight tension to create a sturdy, heat-resistant surface for your favorite mugs. Because it is worked in a flat square using back-and-forth rows, it is an ideal project for practicing even edge work and consistent stitch count. The small size makes it a perfect stash-buster for leftover cotton yarn, allowing you to whip up a full set in just one afternoon. Its minimalist aesthetic fits into any home decor style while effectively protecting wooden or glass tables from moisture rings.
I finally finished my first set of these coasters and they turned out perfectly square. The instructions were easy to follow and it was the best way to practice my tension without committing to a giant blanket.
— Sarah, hobbyist crocheter
Pattern Overview & Skill Level
- Skill Level: Beginner
- Approximate Time: 30 minutes per coaster
- Construction: Worked in flat rows starting from a foundation chain
- Finished Dimensions: 4 inches by 4 inches
Materials & Supplies Needed
- Yarn: Worsted weight (#4) 100% cotton yarn, approximately 15 yards per coaster. Cotton is preferred over acrylic as it is absorbent and heat-tolerant.
- Hook Size: 5.0 mm (US H-8) to achieve a firm, dense fabric that keeps its shape.
- Notions: Tapestry needle for weaving in ends, scissors, and an optional stitch marker to keep track of the first and last stitch of each row.
- Safe yarn substitutions: You can use a bamboo-cotton blend for a softer feel, though this may result in a slightly more relaxed fabric. Avoid 100% wool if you intend to place hot mugs on them, as it may felt over time.
Stitch Guide & Abbreviations (US Terms)
- ch = chain
- sc = single crochet: Insert hook, yarn over, pull up a loop, yarn over, pull through both loops on hook
- st/sts = stitch/stitches
- turn = turn your work to begin the next row
- fasten off = cut yarn and pull through the final loop to secure
Step-by-Step Pattern Instructions
Start by creating a foundation chain that sets the width of your coaster. You will work in rows, turning at the end of each.
- Foundation: Ch 16.
- Row 1: Sc in the second ch from hook and in each ch across. (15 sts)
- Rows 2–16: Ch 1, turn. Sc in each st across. (15 sts)
Finishing the Coaster
After completing Row 16, do not cut your yarn. Ch 1 and rotate the piece to work along the side edge. Sc evenly down the side, placing one stitch per row end. Work 3 sc into the corner stitch to create a rounded edge. Continue working sc around the perimeter of the square, placing 3 sc in each of the remaining three corners. Join with a sl st to the first sc of the border. Fasten off and use a tapestry needle to weave the yarn tails securely into the back of the work.
Care & Washing Instructions
- Machine wash on a gentle cycle in cold water to prevent color bleeding or fiber shrinkage.
- Lay the coasters flat on a clean towel to air dry, ensuring they are squared off to maintain their shape.
- If the coasters become misshapen after use, light steam blocking with an iron set to a low, cotton-safe temperature will restore them to a flat, professional finish.
Pro Tips & Common Mistakes to Avoid
Maintain a consistent tension throughout the project; if your stitches are too loose, the coaster will feel flimsy and fail to protect your furniture from liquid. Use a stitch marker on the first and last stitch of every row to ensure you do not accidentally skip stitches, which is the most common cause of a project turning into a trapezoid instead of a square. When weaving in your ends, run the needle through the center of the stitches rather than along the surface to keep the finish invisible. To adjust the size, simply add or subtract foundation chains to reach your desired width, and work an equal number of rows to match, keeping in mind that larger coasters will require more yarn.
Frequently Asked Questions
Can I use a larger hook for this pattern?
Using a larger hook will result in larger, gappier stitches that are less effective at absorbing moisture and protecting your furniture. Stick to the 5.0 mm hook for the density required for a coaster.
Is this pattern suitable for complete beginners?
Yes, this is an excellent starter project. It uses only the most basic stitch in crochet and focuses on maintaining a consistent square shape without the complexity of increasing or decreasing.
How can I make the coasters larger?
You can increase the starting chain in increments of one to reach your preferred width. Remember to work the same number of rows as the number of stitches in your foundation to ensure the result is a perfect square.
Can I sell items made from this pattern?
You are welcome to sell finished items made from this guide. I only ask that you credit the designer if you are listing them in an online shop or craft market.
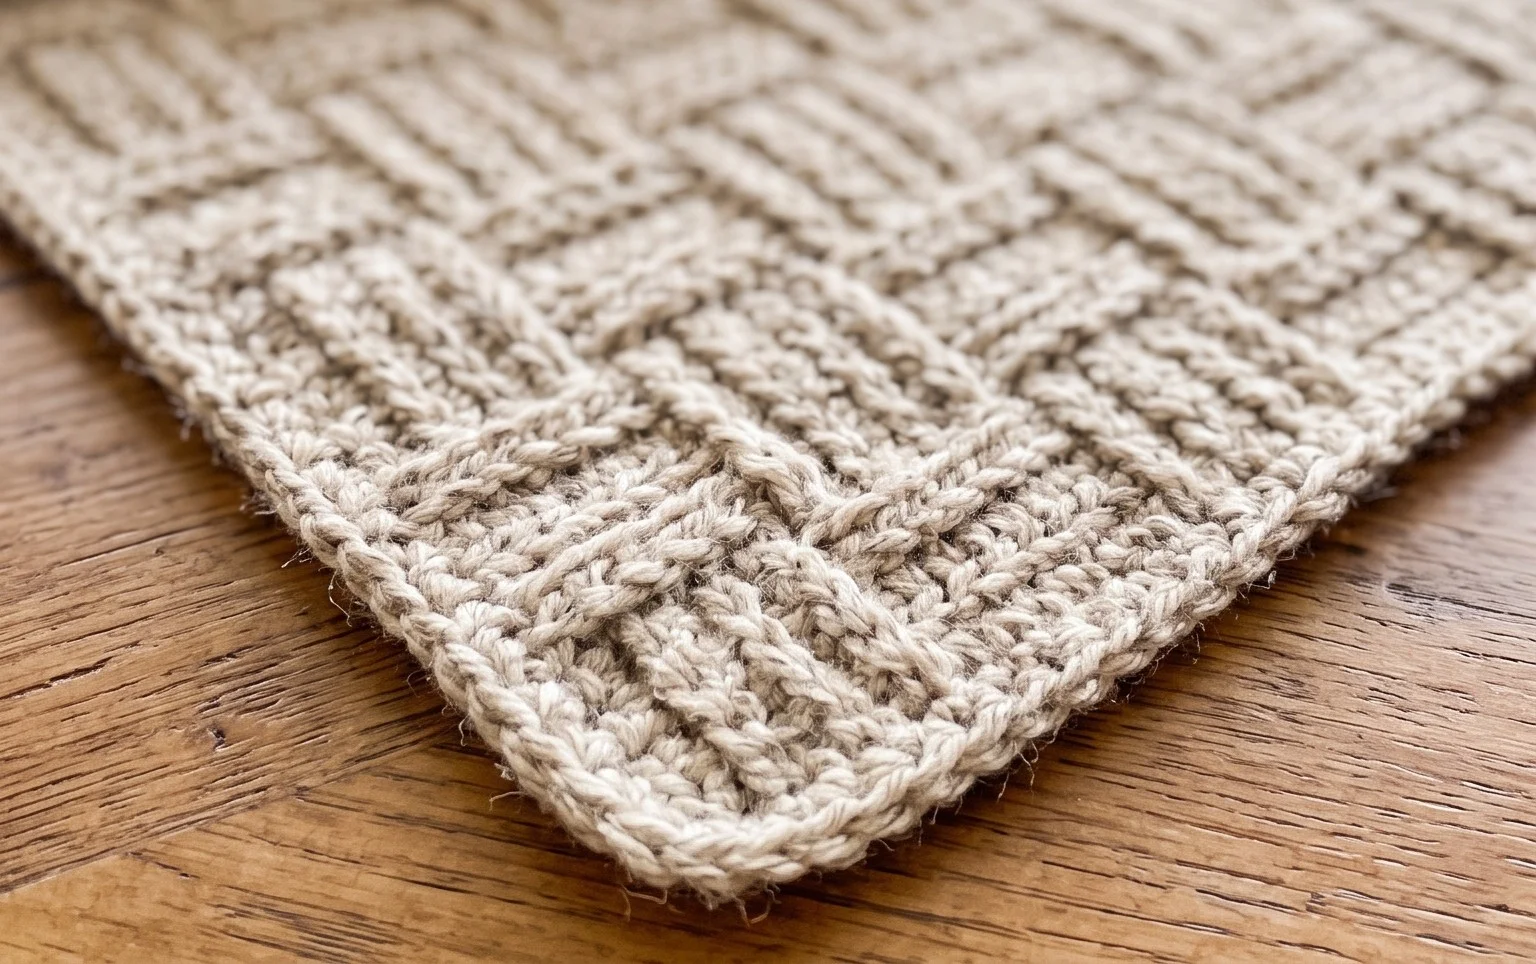
Your new textured square is ready to use as a cozy centerpiece for your coffee table or a soft base for a decorative plant. You can experiment with bold, variegated yarn colors to highlight the dimensional stitch pattern or double the foundation chain to create a longer runner for your bedside table. Sharing a photo of your work on Instagram helps other makers find inspiration for their own projects. Please visit the rest of the blog to browse our library of free patterns for your next afternoon session.