Easy Traditional Crochet Mittens: Free Beginner Pattern
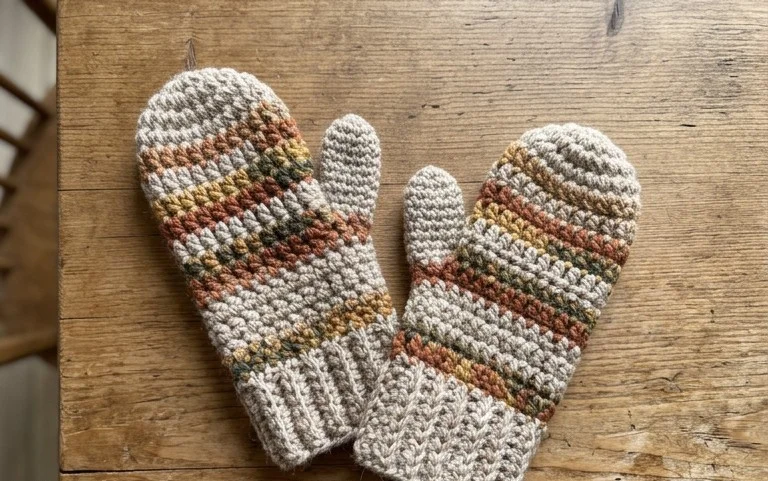
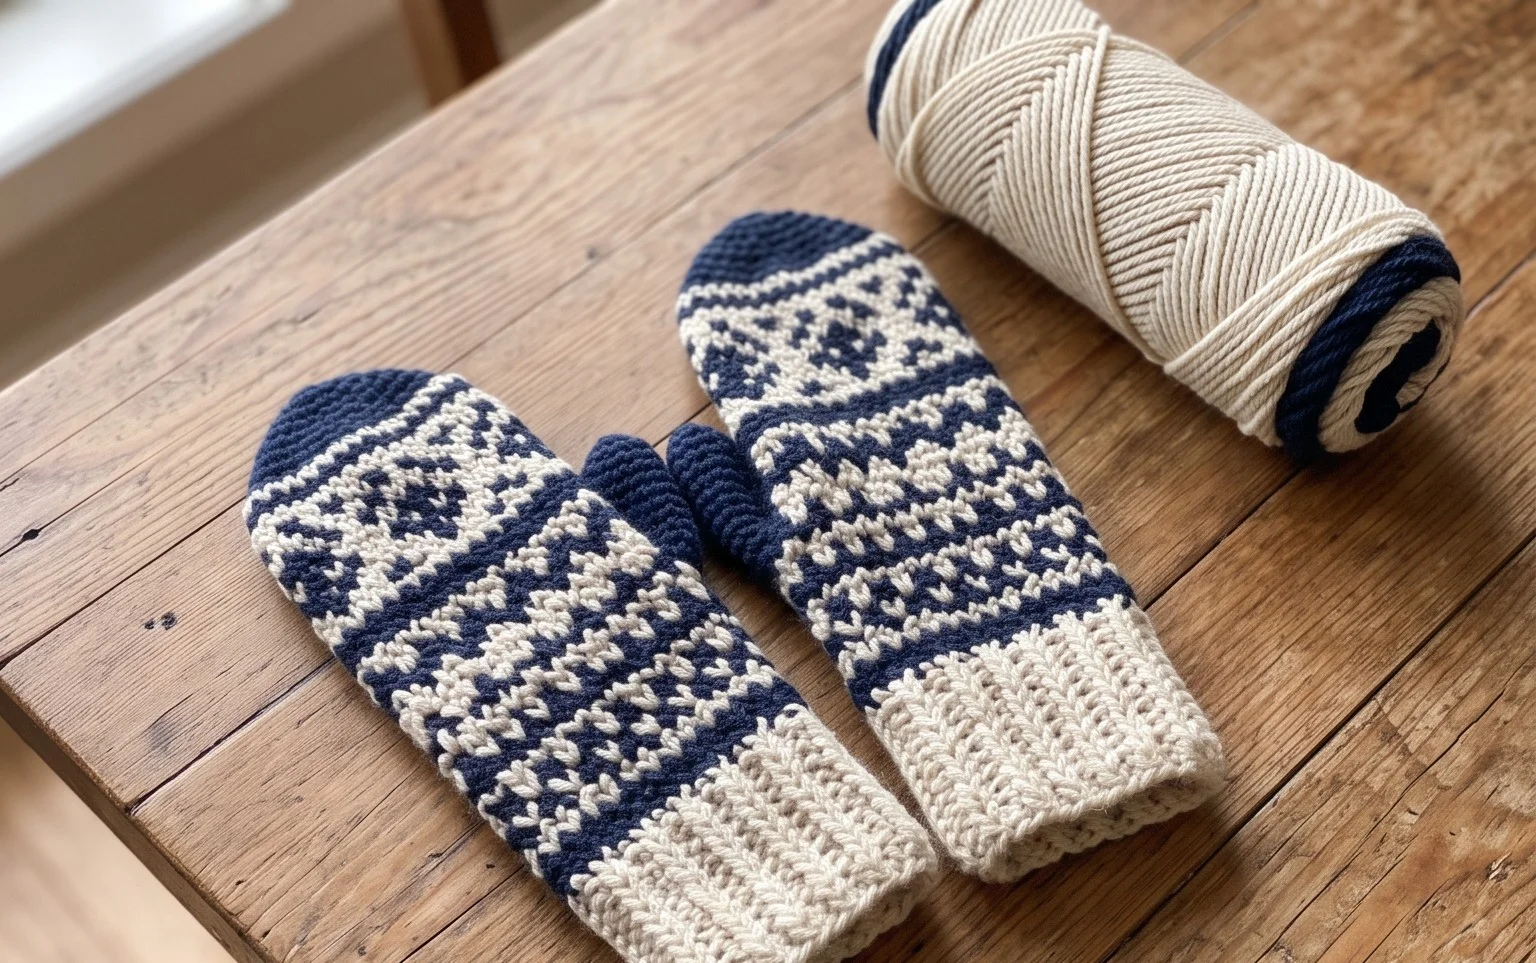
These classic hand warmers feature a dense, wind-blocking fabric that sits comfortably against the skin without feeling bulky or restrictive. You will enjoy how the simple back loop single crochet creates a uniform, knit-like texture that remains flexible enough for daily tasks like holding a coffee mug or grabbing your keys. This is an approachable project for someone building their confidence with shaping, as you learn how to handle curves and gussets without needing complex lace or cabling. You are about to master a fundamental technique that transforms two simple rectangles into a pair of essential winter accessories.
Why You’ll Love This Pattern
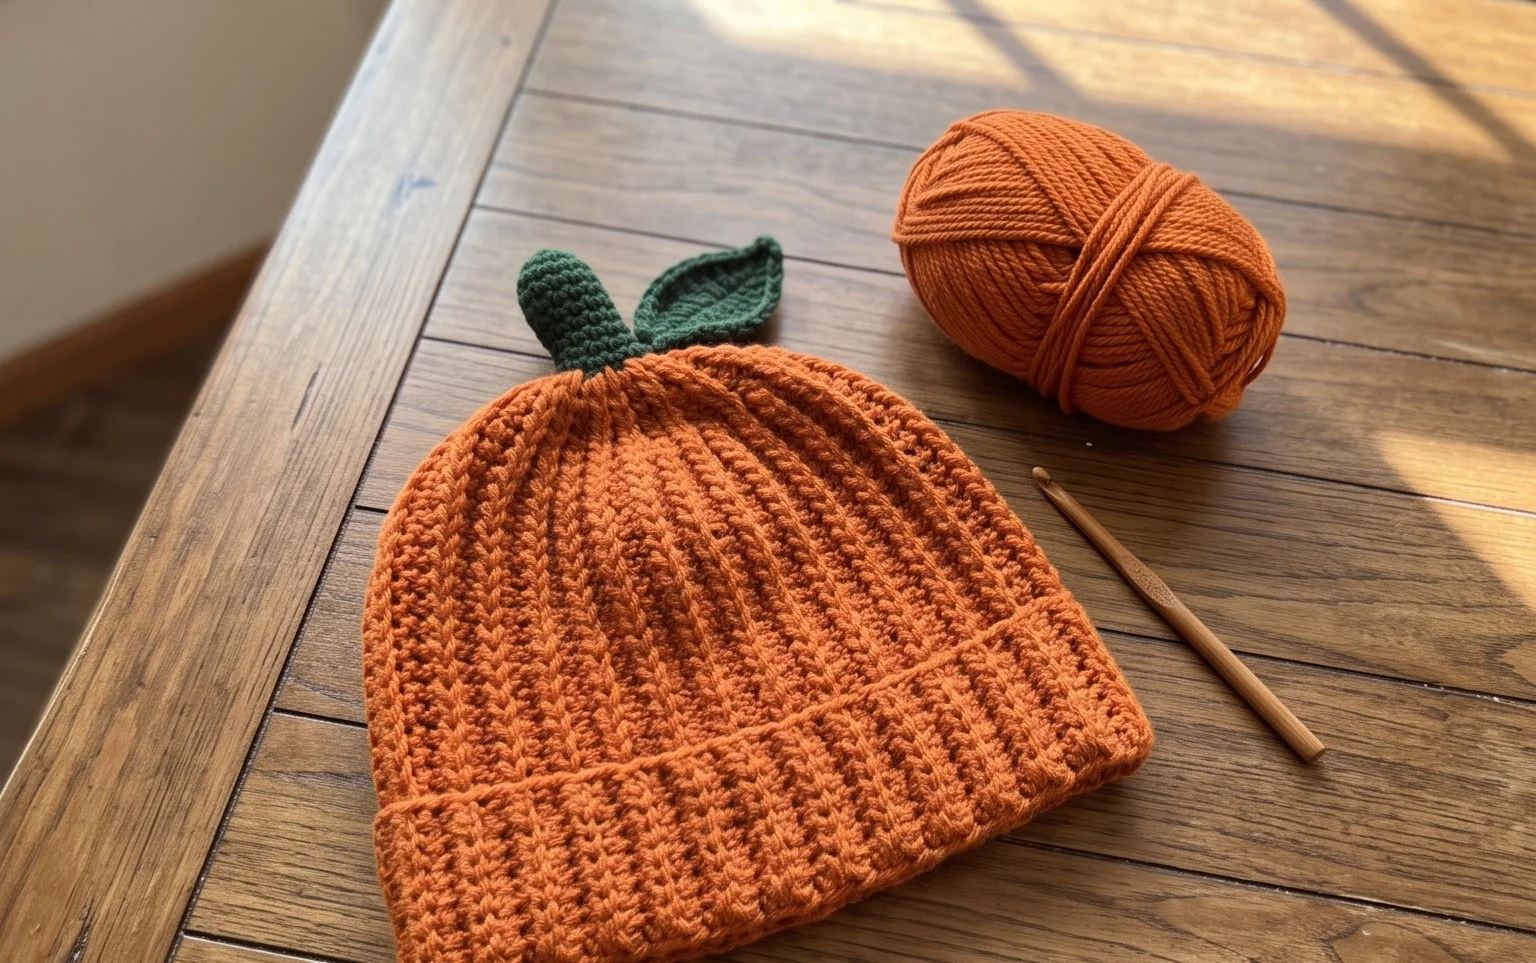
This crochet ribbed beanie creates a dense, thermal fabric that holds its shape through repeated wear. You will find that the construction relies entirely on working in the back loops, which creates a natural vertical stretch and a classic knit-look appearance. Because the hat is worked as a flat rectangle and then seamed, it is an excellent project for practicing consistent tension without the complexity of circular shaping. The final result is a professional-looking accessory that is both wind-resistant and warm enough for freezing winter temperatures.
I finished this hat in a single weekend while watching a movie. The repeat is so mindless that I didn’t have to look at the pattern after the first few inches, and the fit is perfectly snug without being too tight.
— Sarah, hobbyist crocheter
Pattern Overview & Skill Level
- Skill Level: Beginner
- Approximate Time: 3 to 4 hours
- Construction: Worked flat in rows, then seamed vertically to form a tube with one end cinched shut.
- Finished Dimensions: 9 inches wide by 11 inches tall (fits most adult head sizes).
Materials & Supplies Needed
- Yarn: Worsted weight (#4), 100% acrylic or wool blend, approximately 200 yards.
- Hook Size: 5.5 mm (US I-9).
- Notions: Yarn needle with a large eye, stitch markers, and a pair of scissors.
- Yarn Substitutions: You can use a DK weight yarn if you increase your starting chain length by 10% to account for the thinner strands, but a worsted weight wool blend provides the best structural elasticity.
Stitch Guide & Abbreviations (US Terms)
- ch = chain
- st = stitch
- sl st = slip stitch
- BLO = back loop only (insert hook under the back loop of the stitch only, rather than both loops)
- hdc = half double crochet (yarn over, insert hook, pull up a loop, yarn over, pull through all three loops on hook)
Step-by-Step Pattern Instructions
Hat Body
- Row 1: Ch 41. Hdc in the second ch from hook and in each ch across. Turn. (40 sts)
- Row 2: Ch 1. Hdc in BLO of every st across. Turn. (40 sts)
- Rows 3–60: Repeat Row 2 until the piece measures 18 inches wide when slightly stretched. Do not fasten off.
Assembly and Finishing
- Seaming: Fold the rectangle in half so that the short ends meet. Working through both the BLO of the last row and the starting foundation chain, sl st the edges together to form a tube.
- Cinching the Crown: Cut the yarn, leaving a 12-inch tail. Thread this tail onto your yarn needle. Weave the needle through the stitches along one open edge of the tube, pulling the yarn tight as you move around the circle until the hole is completely closed.
- Securing: Secure the tail with a tight knot inside the crown of the hat. Weave in all remaining loose ends on the inside of the work. Turn the hat right side out.
Care & Washing Instructions
- Hand wash in cool water with a mild detergent to maintain the integrity of the fibers and prevent stretching.
- Lay the hat flat on a dry towel, patting it into shape, and allow it to air dry completely away from direct sunlight.
- Avoid using a tumble dryer, as heat can shrink the material and weaken the tension of your stitches.
Pro Tips & Common Mistakes to Avoid
Maintain consistent tension by holding your yarn with a steady grip throughout every row, especially when working the slip stitch seam, as uneven tension here will cause a visible ridge. Use a stitch marker on the first stitch of every row to ensure you are not accidentally dropping stitches at the edges, which is a common mistake that causes the rectangular shape to become uneven. To weave in your ends invisibly, split the plys of the yarn with your needle and sew through the center of the stitches rather than just around them. If you need to adjust the size, add or subtract chains in multiples of two; remember that adding length will require extra yarn, so keep a spare skein on hand if you plan to make an oversized or slouchy version.
Frequently Asked Questions
Can I use a cotton yarn for this pattern?
While possible, cotton yarn lacks the natural elasticity of wool or acrylic blends. This may result in a hat that loses its shape and becomes loose after a few wears.
Is this pattern suitable for someone who has never crocheted before?
Yes, this is an ideal beginner project. It focuses on the half double crochet stitch and the back loop technique, both of which are foundational skills in crochet.
How do I adjust the hat to be smaller for a child?
Reduce the number of stitches in your starting chain until it measures approximately 8 inches for a child’s head. You will also need to crochet fewer rows to accommodate the smaller circumference.
Am I allowed to sell hats made from this pattern?
You are welcome to sell finished items created from this design. Please credit the pattern origin in your shop listings or on social media posts.
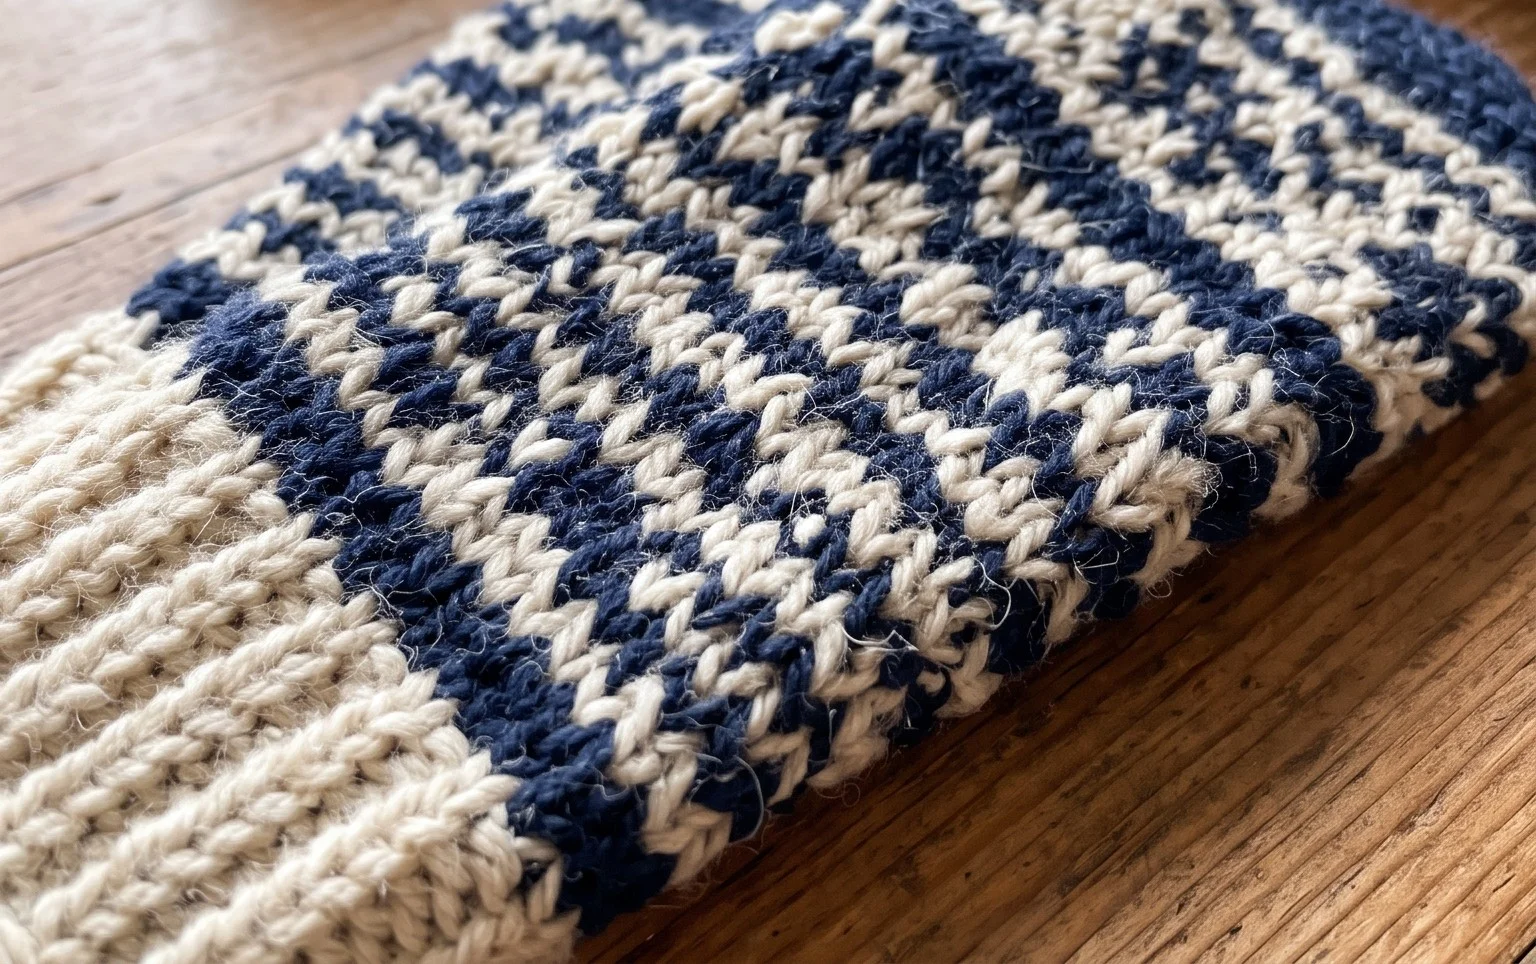
Your new hand-stitched winter accessories will keep your fingers cozy through the coldest months of the year. Try using a variegated wool yarn if you want a subtle color shift that highlights the ribbed texture of the fabric without needing to change skeins mid-row. Take a quick photo of your finished pair and share it with our community on your favorite social platform to show off your progress. Check our archive for more winter gear patterns to keep your needles and hooks moving all season long.