Easy Crochet Dishcloth Pattern: A Simple Step-by-Step Guide
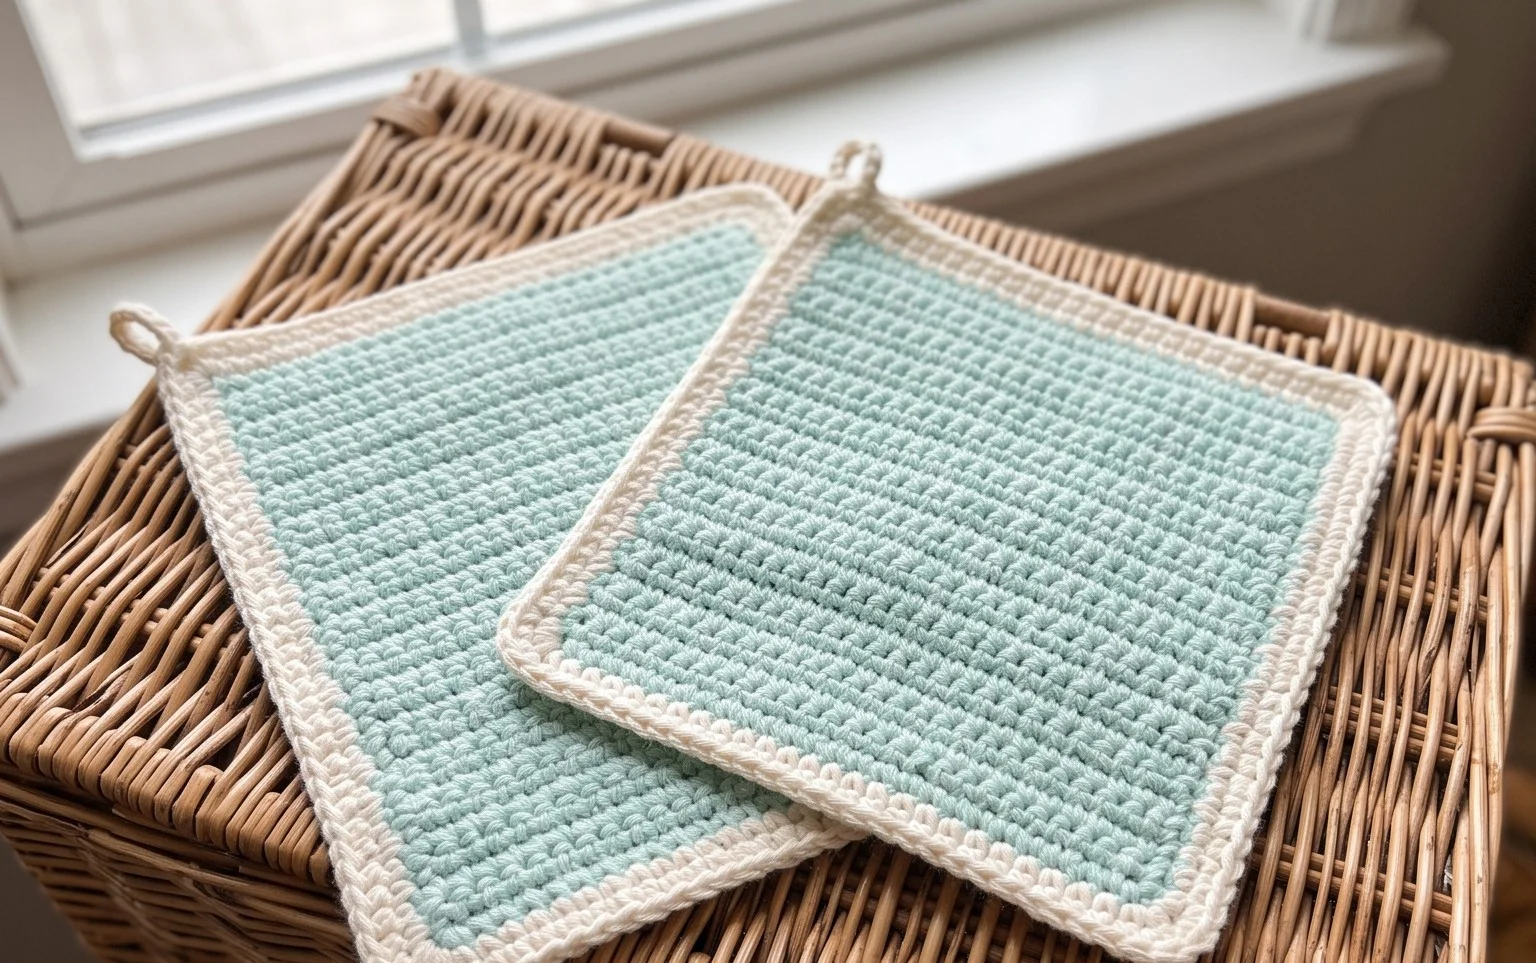
These thick cotton dishcloths feature a bouncy texture that feels dense and satisfying in your hands while you work. Making them is a gentle way to learn how depth and dimension change a basic square into a functional household tool. Beginners find the rhythm of alternating standard stitches with post stitches provides a helpful structure that builds confidence quickly. You will see how simple adjustments create a fabric that traps soap suds and grips onto grime on your stovetop. This project turns a single ball of yarn into something useful for your kitchen routine by this afternoon.
Why You’ll Love This Pattern
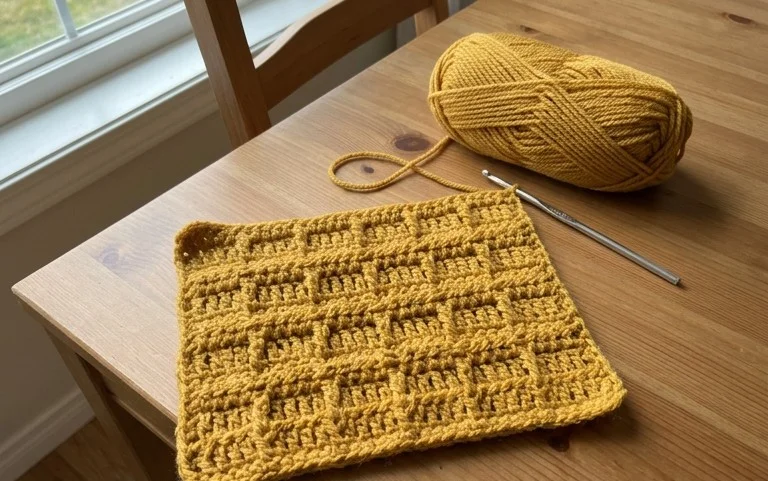
This classic crochet dishcloth is designed using the waffle stitch, a technique that creates deep ridges and pockets. These textures act like tiny scrubbers, making it exceptionally effective for cleaning countertops and washing dishes. Because it uses a simple combination of double crochets and front post double crochets, the pattern is easy to memorize once you finish the first few rows. It works up quickly, allowing you to build a functional set in a single afternoon. If you have leftover cotton yarn from larger projects, this pattern is an efficient way to clear out your stash while creating something practical for your home.
I managed to finish three of these in one weekend. The texture is much better for scrubbing than a flat chain-stitch cloth, and they hold up really well in the wash.
— Sarah, home crafter
Pattern Overview & Skill Level
- Skill Level: Advanced Beginner
- Approximate Time: 60 to 90 minutes per dishcloth
- Construction: Worked in flat rows starting with a foundation chain
- Finished Dimensions & Sizing: 8 inches by 8 inches
Materials & Supplies Needed
- Yarn: Worsted #4 weight, 100% cotton, approximately 75 yards per cloth. Cotton is essential here because it absorbs water and withstands high temperatures.
- Hook Size: 5.0 mm / H-8
- Notions: Tapestry needle for weaving in ends, scissors, and a measuring tape.
- Safe Yarn Substitutions: You can use a cotton-acrylic blend, though it will be slightly less absorbent than 100% cotton. Avoid wool, as it will felt during the scrubbing process. If you change the yarn weight to DK, your finished size will decrease; you will need to add extra chains to the starting foundation to maintain the 8-inch width.
Stitch Guide & Abbreviations (US Terms)
- ch: chain
- st/sts: stitch/stitches
- dc: double crochet
- FPdc: front post double crochet (yarn over, insert hook from front to back to front around the post of the indicated stitch, pull up a loop, yarn over, pull through 2 loops, yarn over, pull through 2 loops)
- sk: skip
- YO: yarn over
Step-by-Step Pattern Instructions
Main Body
- Foundation: Ch 30. (This creates an 8-inch width with worsted weight yarn).
- Row 1: Dc in 4th ch from hook and each ch across. Turn. (28 sts).
- Row 2: Ch 2 (counts as dc throughout), *FPdc around next st, dc in next 2 sts; repeat from * until 3 sts remain, FPdc around next st, dc in next 2 sts. Turn. (28 sts).
- Row 3: Ch 2, *dc in next st, FPdc around next 2 sts; repeat from * until 3 sts remain, dc in next 3 sts. Turn. (28 sts).
- Rows 4–22: Repeat Rows 2 and 3 alternately until the piece measures 8 inches long.
Finishing
Once you reach the desired length, do not fasten off. Work one round of single crochet evenly around the entire perimeter of the square, placing 3 sc into each corner stitch to keep the edges flat. Join with a sl st to the first sc. Cut the yarn, leaving a 6-inch tail. Use your tapestry needle to weave the yarn tail securely back and forth through the stitches on the back side of the cloth to prevent it from unraveling during use.
Care & Washing Instructions
- Machine wash on a warm setting with similar colors to ensure thorough cleaning.
- Tumble dry on low heat or lay flat on a drying rack to prevent the cotton from shrinking.
- If the corners begin to curl after drying, gently pull the damp cloth into shape and press it flat under a heavy book for an hour.
Pro Tips & Common Mistakes to Avoid
Maintain consistent tension especially when working the front post double crochets. If you pull these stitches too tight, the fabric will stiffen and lose its characteristic waffle texture. Use a stitch marker on the first stitch of every row to ensure your count remains 28 throughout the project; skipping the last stitch is a common error that causes the cloth to shrink on one side. Weave your ends in multiple directions—up, down, and across—to lock the yarn in place, as dishcloths undergo frequent agitation in the wash. If you choose to resize the project, remember that the pattern repeat requires a multiple of 3 stitches plus 2 extra, so adjust your foundation chain accordingly.
Frequently Asked Questions
Can I use a larger hook to make the cloth work up faster?
Using a larger hook will make the fabric looser and less durable. For the best scrubbing texture, stick to the recommended 5.0 mm hook, which ensures the stitches remain tight enough to hold their shape during heavy use.
How do I adjust the size if I want a smaller face cloth?
To make the cloth smaller, simply decrease your foundation chain by increments of three. If you start with 24 chains instead of 30, follow the same row-by-row instructions, and the stitch count for each row will be 22 instead of 28.
Is this pattern suitable for someone who has only done single crochet before?
Yes, this is an excellent transition project. The front post double crochet is a foundational technique that looks complex but is quite simple once you practice the motion of wrapping the hook around the post of the stitch rather than going into the top loops.
Can I sell the finished dishcloths I make from this pattern?
You are welcome to sell finished items created from this pattern. Please credit the design to this tutorial and use your own original photographs when listing them for sale online.
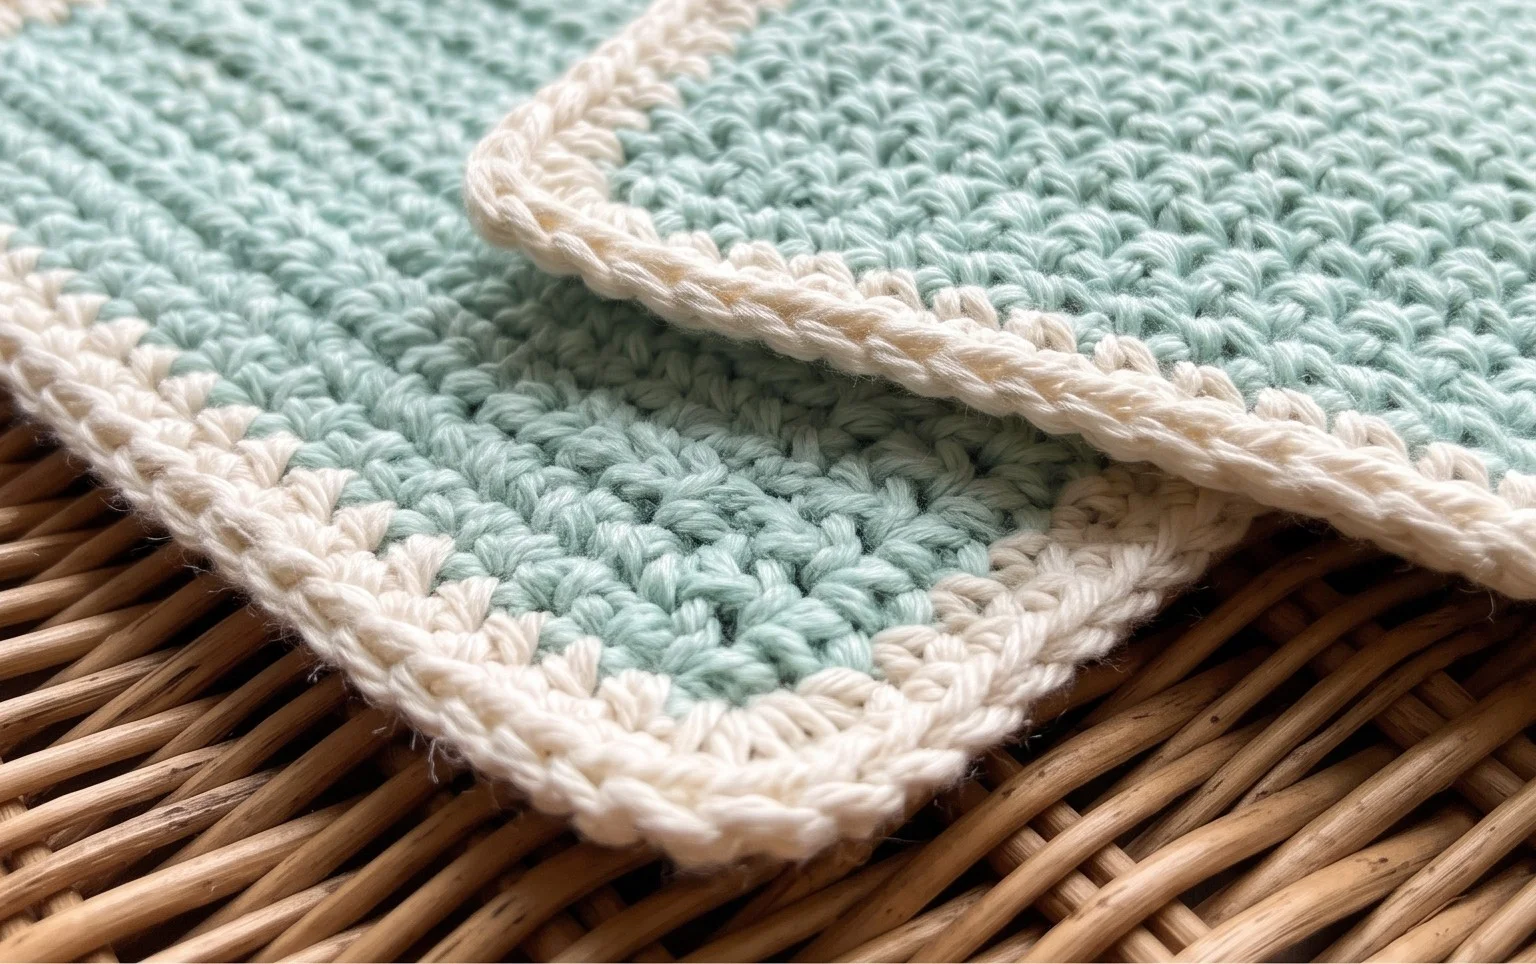
Holding a stack of these freshly crocheted cloths gives you a sense of accomplishment because you turned simple string into something that handles your daily kitchen mess. You can easily switch to a variegated yarn if you want a bolder look, or add a few extra rows to make a custom size for your favorite cast iron skillet. Sharing a picture of your finished set helps others see how your color choices turned out. Please browse the rest of the blog for more patterns that use similar skills to fill your home with handmade items.