Easy Crochet Yarn Pumpkins: Step-by-Step Free Pattern
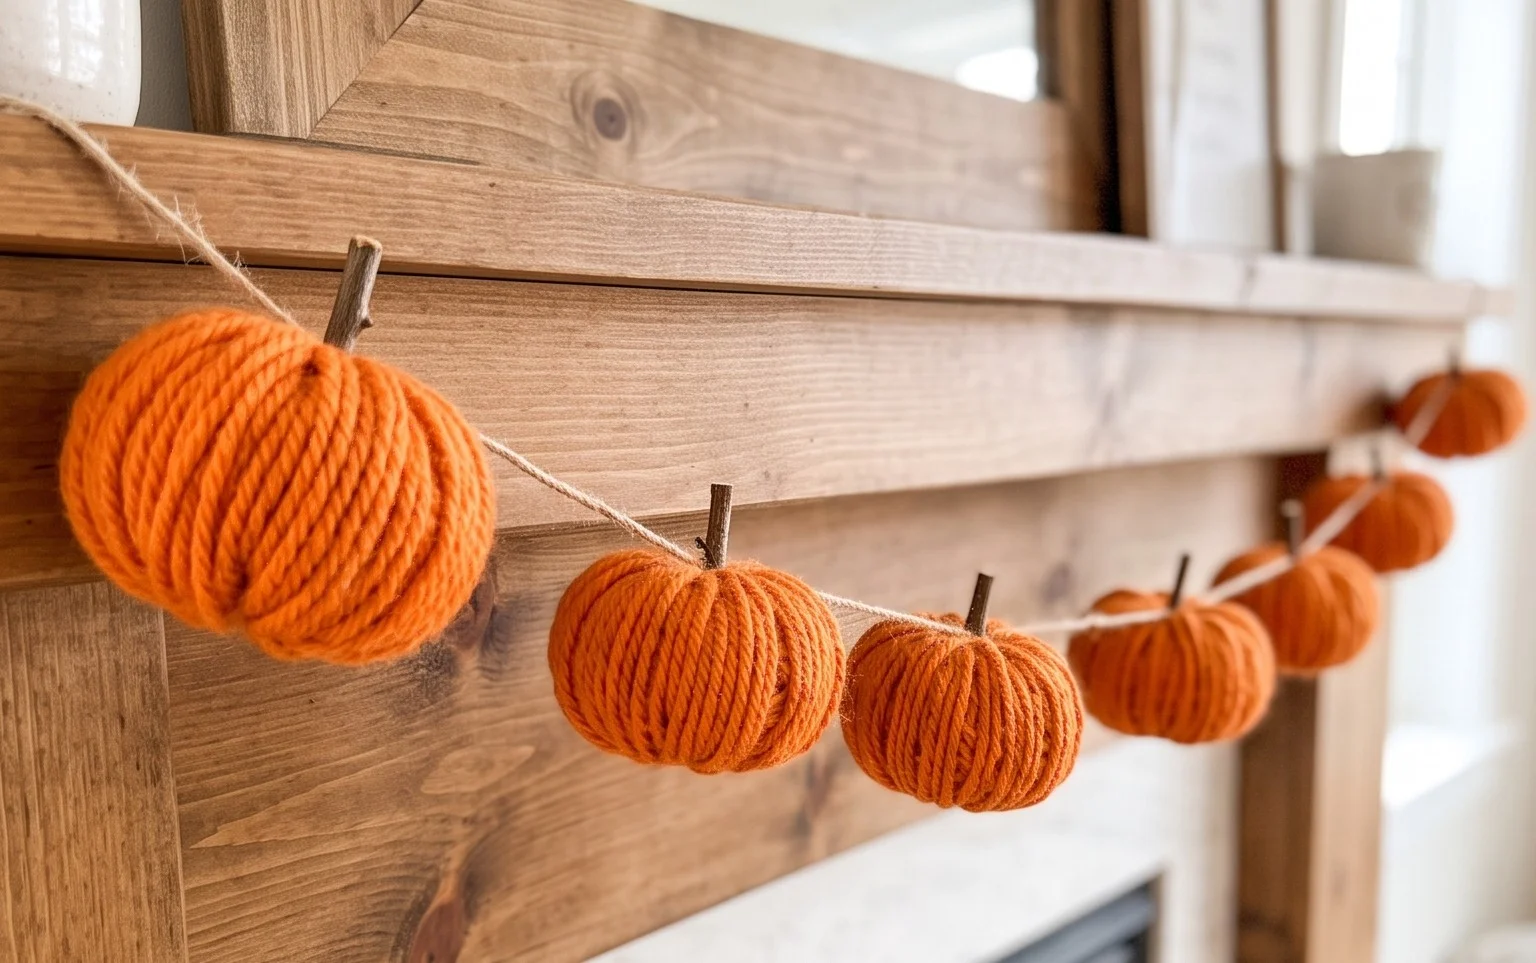
Soft cotton yarn creates a squishy, weighted texture that sits perfectly on a shelf or mantle piece. These handmade gourds bring a cozy touch to any seasonal display, and because they work up so quickly, they act as a reliable solution for last-minute gifts. Beginners find this project approachable because it relies on a repeating sequence of simple stitches rather than complex shaping. You will learn how to build a sturdy circular base and shape the sides into a rounded form, creating a solid interior that holds its own weight without needing extra stuffing or support.
Why Crocheters Love It
This beginner-friendly project works up in a single evening, making it the ideal solution for those times you need a thoughtful handmade gift at the last minute. Because it uses less than one skein of standard worsted weight yarn, it serves as an excellent way to clear out those leftover bits of yarn hiding in your stash basket. The construction relies on a rhythmic, repeating stitch pattern that allows your hands to find a comfortable flow without requiring constant focus on the instructions. Once you master the initial foundation, the work remains consistent, which helps maintain uniform tension throughout the entire piece.
I finished this pattern in just a few hours on a rainy Saturday. The instructions are so clear that I did not have to restart even once, and it looks professional enough that I plan to make three more for coworkers.
— Sarah, hobbyist crafter
Pattern Overview & Skill Level
- Skill Level: Beginner
- Approximate Time: 3 to 5 hours
- Construction: Worked in continuous rounds from the center outward to create a flat circular base, followed by upright rows to form the body.
- Finished Dimensions: 6 inches in diameter at the base, 8 inches in height.
Materials & Supplies Needed
- Yarn: Worsted #4 weight, 100% cotton, approximately 120 yards. Cotton provides the necessary structure to keep the item upright.
- Hook Size: 5.0 mm (H-8).
- Notions: Tapestry needle for weaving in ends, a locking stitch marker to track the start of rounds, and a pair of sharp scissors.
- Yarn Substitutions: You can use an acrylic worsted weight yarn for a softer feel, but note that acrylic is more prone to stretching and may lose its shape if heavily weighted. Avoid wool blends if the item will be machine washed frequently.
Stitch Guide & Abbreviations (US Terms)
- ch = chain
- sc = single crochet
- inc = 2 sc in the same stitch (increase)
- sl st = slip stitch
- st/sts = stitch/stitches
- BLO = back loop only; insert hook under only the back loop of the designated stitch to create a ridge.
Step-by-Step Pattern Instructions
Base
- Rnd 1: 6 sc into a magic ring (6 sts).
- Rnd 2: 2 sc in each st around (12 sts).
- Rnd 3: (1 sc, inc) repeat 6 times (18 sts).
- Rnd 4: (2 sc, inc) repeat 6 times (24 sts).
- Rnd 5: (3 sc, inc) repeat 6 times (30 sts).
- Rnd 6: (4 sc, inc) repeat 6 times (36 sts).
Body
- Rnd 7: Sc in BLO of every st around (36 sts).
- Rnds 8–20: Sc in each st around (36 sts).
- Rnd 21: (4 sc, dec) repeat 6 times (30 sts).
- Rnd 22: Sc in each st around (30 sts).
- Rnd 23: (3 sc, dec) repeat 6 times (24 sts).
- Rnd 24: Sc in each st around (24 sts).
- Finish: Sl st into the next stitch to secure. Cut yarn, leaving a 6-inch tail for weaving.
Care & Washing Instructions
- Machine wash on a gentle cycle using cool water and a mild detergent to prevent fiber degradation.
- Lay the piece flat on a clean towel to air dry, ensuring it is shaped correctly while damp.
- Avoid using a tumble dryer, as heat can cause the cotton fibers to shrink and distort the finished dimensions.
Pro Tips & Common Mistakes to Avoid
Maintain consistent tension by holding the yarn with a light touch; if you find your stitches are too tight to insert the hook, move up to a 5.5 mm hook. Always use a locking stitch marker at the start of every round, as continuous rounds have a tendency to spiral, making it easy to lose your place without a visual indicator. Weave in your ends by traveling through the underside of the stitches in multiple directions to ensure the yarn remains secure even after repeated washing. If you choose to adjust the size of the base, remember that adding more rounds will consume significantly more yarn, so ensure you have at least 20% extra yardage before increasing the dimensions.
Frequently Asked Questions
Can I use a larger hook to make this faster?
Using a larger hook will increase the size of the finished item and create larger gaps between your stitches, which may cause the structure to sag. Stick to the recommended hook size for the best result.
Is this pattern suitable for complete beginners?
Yes, this project only requires knowledge of the single crochet stitch and how to work in the round. The repetition makes it a perfect way to practice your tension control.
Can I sell the items I make from this pattern?
Please check the specific terms provided by the designer. Most designers allow the sale of finished items on a small scale, provided you credit the original pattern design.
What do I do if I run out of yarn mid-project?
You can join a new length of yarn by completing the final pull-through of the last stitch with the new color or strand. Keep the ends on the inside and weave them in thoroughly.
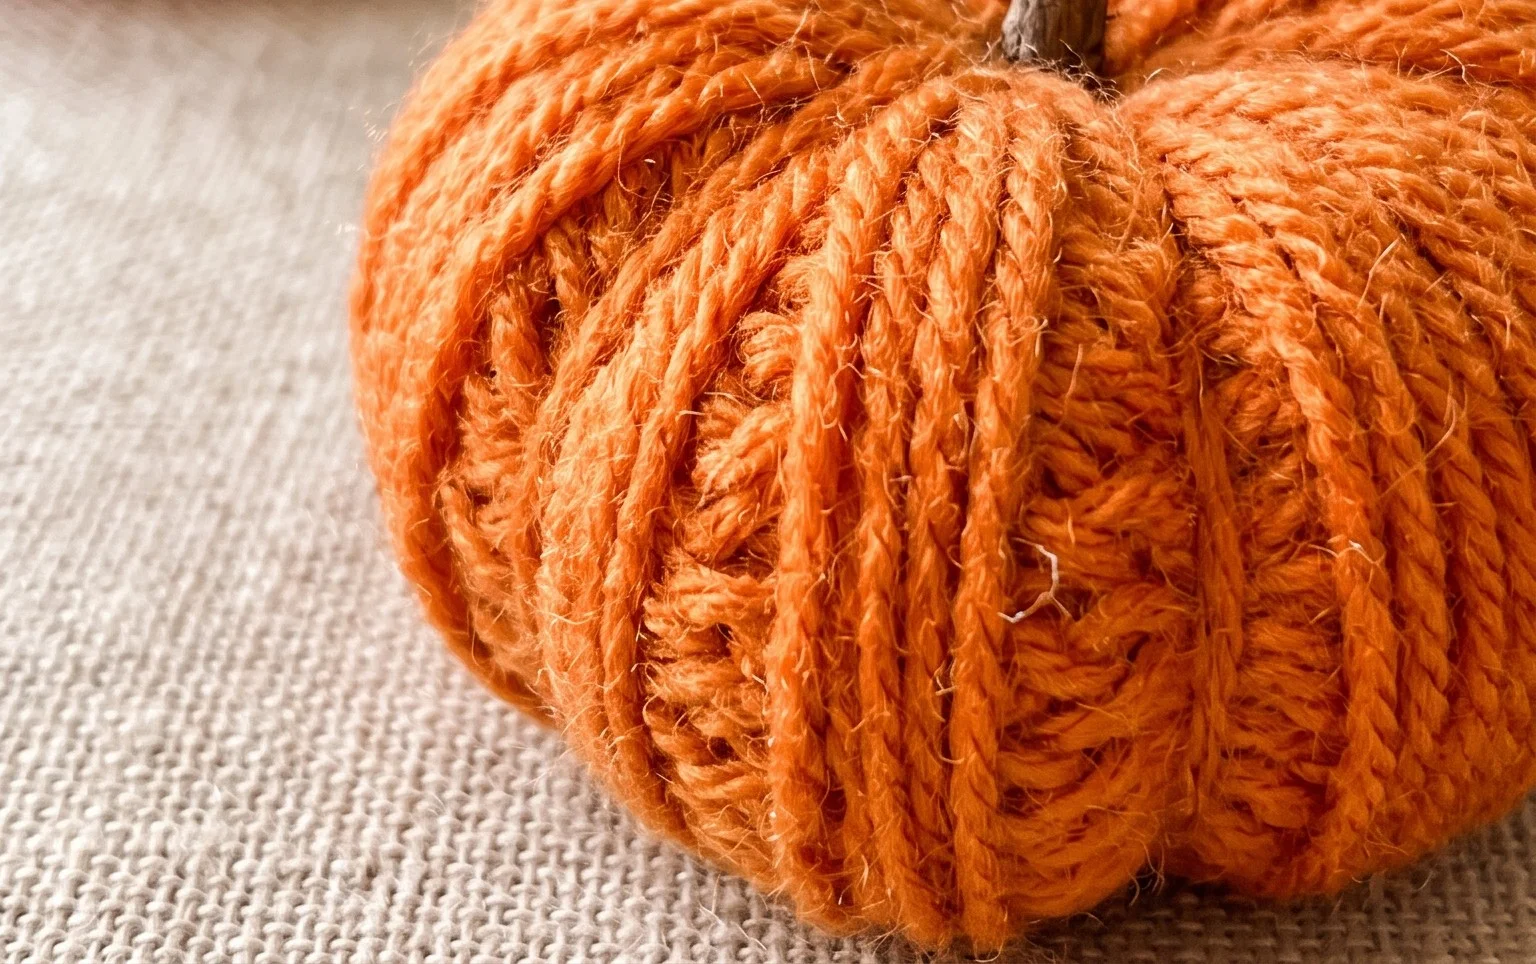
Displaying your finished work on a fireplace hearth or kitchen table adds a warm, homemade charm to your home decor for the entire season. Experiment with different yarn shades like cream, rust, or olive green to create a custom grouping of various sizes for your next gathering. Please share a photo of your finished project on social media so others can see your color choices. You can find more free patterns for seasonal home accessories by browsing the full archive on my blog.